Northern Lights: Planning for the Aurora
Viewing the Aurora Borealis is the #1 bucket list item for Lapland visitors. But the lights are a natural phenomenon, not a scheduled show. Success requires technical preparation and realistic expectations.
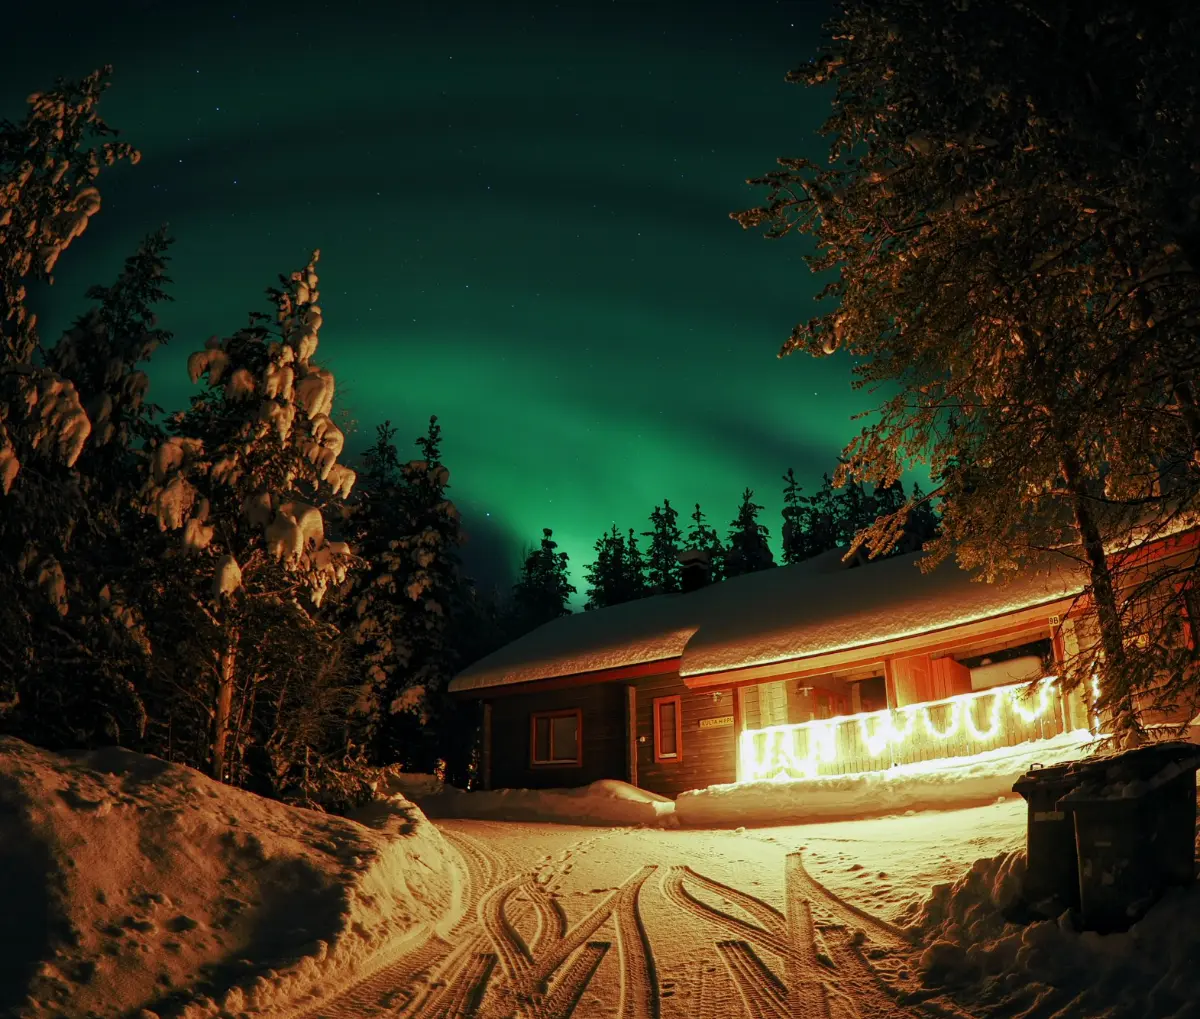
The Reality Check: You Might Not See Them
Before you book your trip, understand that the "Perfect Aurora" you see in professional photography is 10% nature and 90% camera sensors. To the human eye, the lights often look like a faint grey-green cloud unless the solar activity is extreme.
priority_high The Aurora Trinity
You need all three of these to align for a sighting:
- 01 Clear Skies: The lights happen 100km up. If there are clouds (common in Nov/Dec), you won't see anything even if the sun is exploding.
- 02 Darkness: You cannot see them from May to August. The sky must be dark.
- 03 Solar Activity: Measured by the "Kp Index". Kp 2 or 3 is usually enough for northern Lapland.
When to Visit
The season runs from late August to early April.
- September/October: Great because the lakes aren't frozen, creating double reflections. Warmer temperatures.
- November/December: The cloudiest months. Statistically the hardest time to see them.
- February/March: Often clear skies and very deep snow. Statistically the best viewing months.
How to Maximize Your Chances
1. Use the Apps
Download "My Aurora Forecast" or check the "Hello Aurora" app. Look for the "Probability" percentage and the cloud cover forecast. For choosing dark-sky locations and places with statistically better aurora odds, try the Resort Finder.
2. Get Away from City Lights
In Rovaniemi, you must walk or drive away from the streetlights. In smaller villages like Saariselkä or Kilpisjärvi, you can often see them right from your doorstep — or use local transfer services to reach darker spots.
3. Look North
If the activity is low, the Aurora will appear as a static arc low on the northern horizon. Use your phone's compass to orientation yourself.
Book activities and alternatives beyond aurora-chasing — husky and reindeer safaris make great backups.
Photographing the Northern Lights
Modern smartphones have become surprisingly capable aurora cameras — recent iPhones and Google Pixels can capture impressive shots using Night Mode or a dedicated long-exposure mode. That said, a DSLR or mirrorless camera will give you significantly more control and better results in extreme cold.
- Stability is everything: A tripod is essential — even the slightest movement will blur the lights. If you're using a phone, use the self-timer or a remote shutter to avoid camera shake when pressing the button.
- Exposure time depends on how active the aurora is. Aim for 3–10 seconds as a starting point. If the lights are dancing and moving fast, drop to 2–3 seconds to keep them sharp. A slow, faint aurora can handle a longer exposure.
- Camera settings (DSLR or mirrorless):Set your ISO to 1600–3200, open your aperture as wide as possible (f/2.8 or lower), and switch to manual focus — autofocus struggles in the dark. Set your white balance manually to around 3500–4000K to preserve the natural greens and purples rather than letting the camera try to "correct" them.
One final tip: cold Finnish winter nights drain batteries fast. Always carry a spare kept warm
in your pocket.
See more info on tech and batteries in cold